 how-to
How to Verify Custom Jewelry Design
Last Updated: October 25, 2026
Quick Summary
To verify custom jewelry design means checking that your jeweler understood your vision and created the right blueprint before fabrication begins. This involves reviewing CAD renderings and sketches for correct proportions, stone security, metal flow, and design details, then providing written approval before the jeweler proceeds with metalwork.
- Request both a sketch and 3D CAD rendering to review proportions, prong placement, and metal flow before fabrication starts.
- Never approve a design verbally; provide written approval stating the exact date, rendering details, and specifications you're authorizing.
- Ask your jeweler upfront about their revision policy, how many changes are included, and whether they charge per revision.
- Compare the finished piece to your approved design rendering, checking that stone placement, band width, and all details match.
- Document your approval with photos of the completed piece, metal purity stamp, stone specifications, and your written sign-off for insurance records.
Table of Contents
- Understanding What You're Verifying: Design vs. Finished Piece
- Creating a Custom Jewelry Design Consultation Checklist
- Reviewing CAD and Design Renderings
- How to Verify Custom Jewelry Craftsmanship
- Custom Ring Design Approval Checklist
- Diamond and Gemstone Certification
- Inspecting Your Finished Piece: Stage-by-Stage Checklist
- Booking Your Custom Design Consultation
- Frequently Asked Questions
Understanding What You're Verifying: Design vs. Finished Piece
The most common mistake when ordering a custom piece is treating design approval and final inspection as the same step.
At Sherwood Bridge Diamonds, we guide clients through both stages: the design phase is about communication and clarity, the finished piece phase about craftsmanship and quality control.
A beautiful CAD rendering doesn't guarantee a beautiful ring, and a design approval doesn't protect you if the jeweler cuts corners during fabrication.
Creating a Custom Jewelry Design Consultation Checklist
Before your jeweler touches metal or stone, you need a clear design brief. This checklist ensures nothing gets lost in translation between your vision and their sketches.
Key Elements to Document Before Design Work Begins
Document the centerstone: carat weight, color grade, clarity, and cut if chosen; budget range and required certifications (GIA, AGS, or lab-grown documentation) if still selecting.
Describe the setting style in writing. Don't rely on verbal descriptions alone. Use these reference points:
- Solitaire, three-stone, halo, or vintage-inspired
- Prong, bezel, tension, or pavé setting
- Whether you want side stones or accent diamonds
- Band width and profile (flat, domed, tapered)
Include lifestyle details: everyday durability vs. special occasion, whether it sits next to a wedding band, and whether an active job demands a lower profile.
Bring 3-5 reference images and explain what appeals to you about each, proportions, metalwork, how the stone sits.
Questions to Ask Your Jeweler
Ask how they handle stone selection: whether the jeweler sources the diamond or you provide one, and if they source it, whether you see options before purchase.
Ask about timeline: how long design and fabrication take, and whether they send progress photos or videos during the build.
Ask about the approval process: what sign-off looks like, whether approval must be in writing, and whether post-approval changes count as a new design phase.
Reviewing CAD and Design Renderings
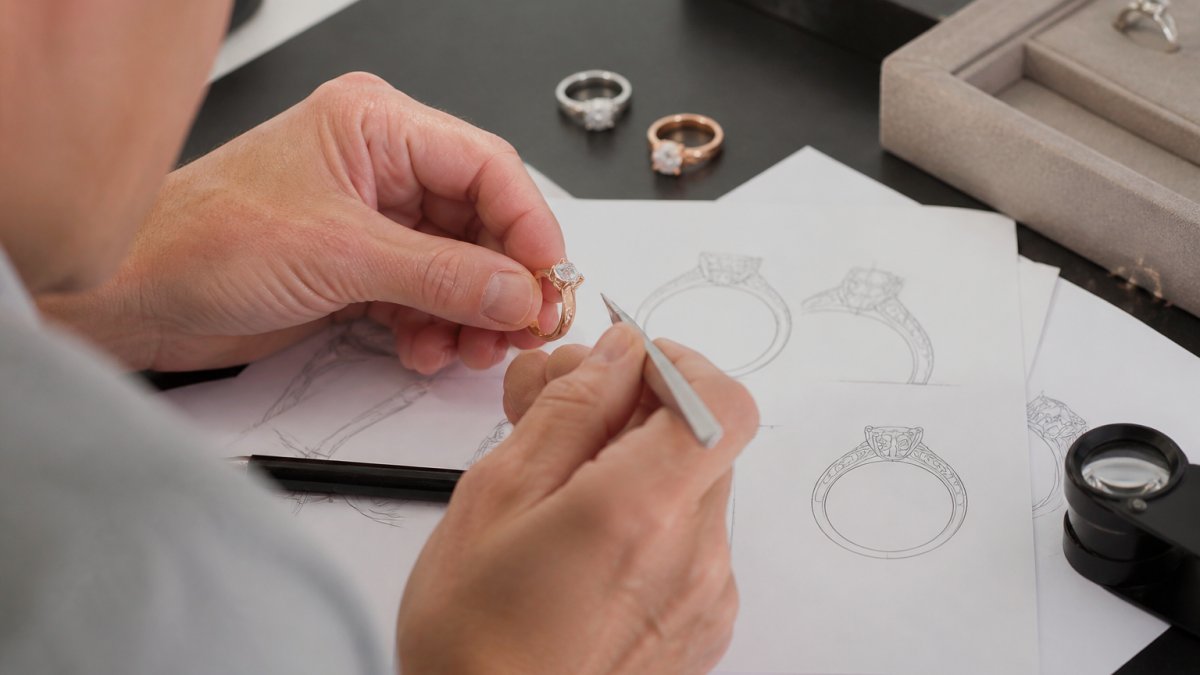
Once your jeweler creates the design, you're looking at either a sketch, a 3D rendering, or both. This is the critical moment to verify custom jewelry design and catch problems before fabrication begins. A design approval is your protection against costly mistakes.
What to Look For in 3D Models and Sketches
Look at the metal flow: does the band taper smoothly, and are there sharp edges or awkward transitions?
Examine engravings and interior details: if you want text inside the band, does it appear at a readable size?
For rings, verify band width and profile from multiple angles, top, side, and 3D perspective.
Requesting Revisions and Approvals in Writing
Never approve a design verbally.
List revisions specifically.
Ask for updated renderings after each revision and compare them to the previous version, watching for unintended changes to other elements.
Confirm the jeweler won't proceed with fabrication until they receive your written sign-off, documented proof of what was approved if something goes wrong.
How to Verify Custom Jewelry Craftsmanship
After the design is approved and the piece is fabricated, your job shifts from design verification to quality inspection, checking that the jeweler actually built what was promised.
Inspecting Metal Quality and Purity
When you receive your finished piece, examine the metal first.
If there's no stamp, ask why.
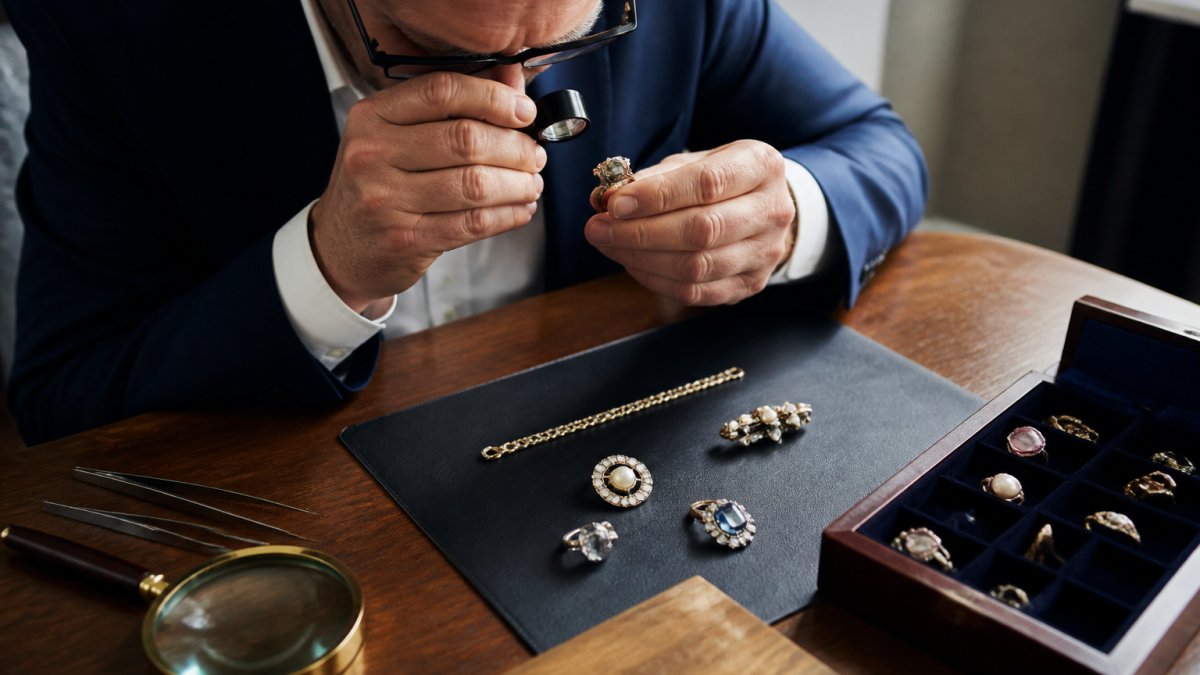
Use a jeweler's loupe to inspect the metal surface for scratches, dents, or rough spots.
Check the solder joints where the band connects to the setting.
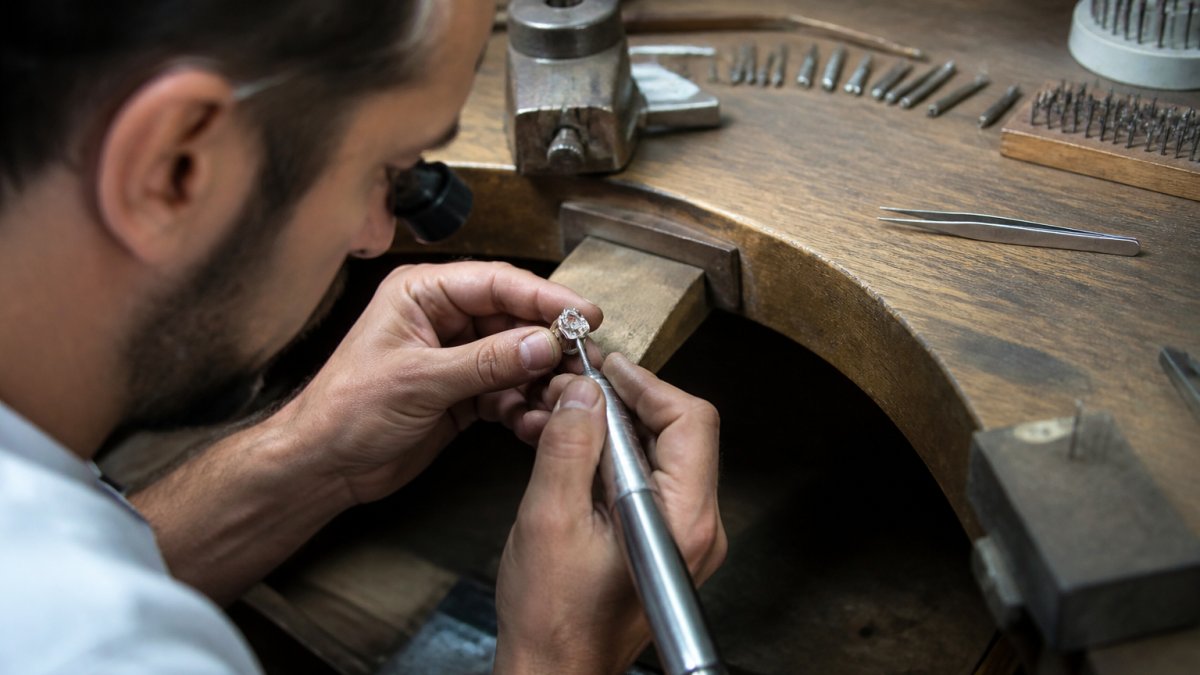
Examine the prongs or bezel if there is one. Metal should be smooth and properly shaped. Prongs should be evenly spaced and the same height.
Checking Stone Setting and Security
This is the most critical inspection. A loose stone or poor setting can ruin an otherwise beautiful piece.
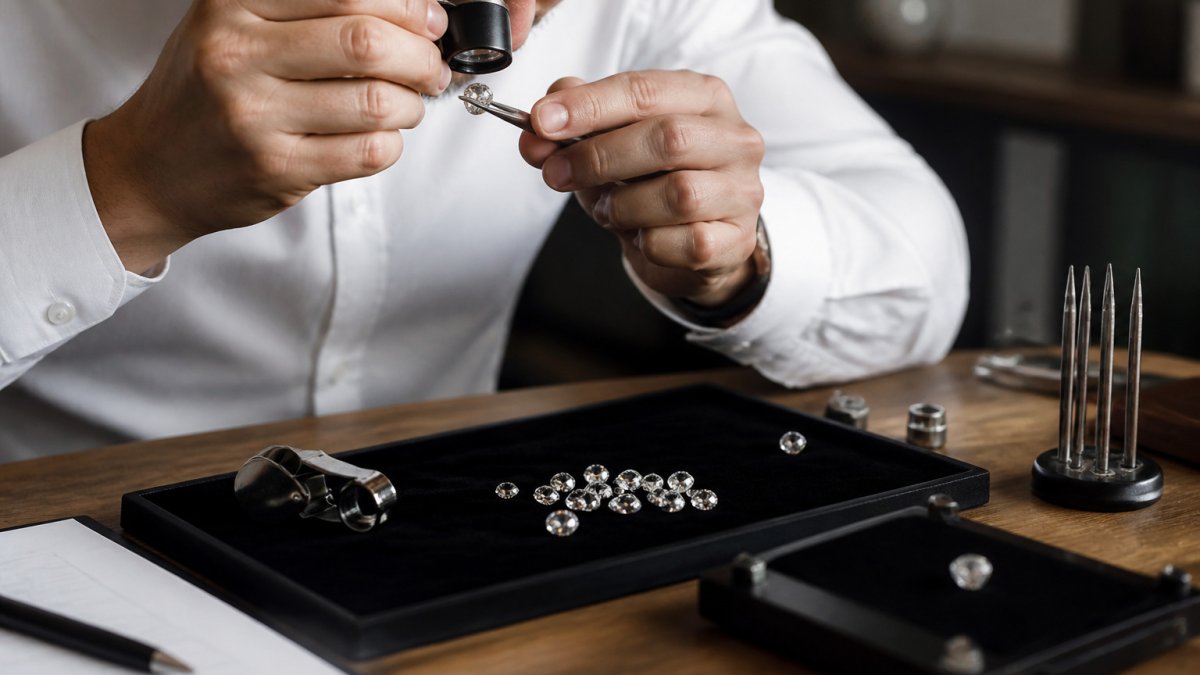
Use a jeweler's loupe to examine how the stone is held.
For a bezel setting, the metal should cover the stone's edge completely.
Gently try to move the stone with light finger pressure. It should not move at all.
Look for any chips or scratches on the stone itself.
Custom Ring Design Approval Checklist
Before you officially accept your finished ring, work through this stage-by-stage checklist. This protects you and gives the jeweler a chance to fix any issues while you're still in their workshop.
Before You Sign Off on the Design
Check the fit. The ring should slide onto your finger smoothly but not fall off.
Verify the stone is secure. Gently press the stone from different angles.
Examine the overall finish. The metal should be polished evenly.
Check that all design elements match the approved rendering. Count the stones.
Look at the ring from all angles under good lighting. Tilt it to catch the light.
Documenting Your Approval
Ask your jeweler for a receipt or certificate that documents the finished piece. This should include:
- A photo of the completed ring
- The metal type and purity
- The stone specifications (carat weight, color, clarity, cut)
- The ring size
- The date of completion
- Your signature or written approval
Keep this documentation with your insurance paperwork. If you ever need to file a claim or have the piece appraised, this record proves what was made and when.
If the jeweler has made any repairs or adjustments after fabrication, ask them to document those as well. This creates a complete history of the piece.
Diamond and Gemstone Certification
If your custom piece includes a diamond or significant gemstone, certification adds credibility and protection to your purchase.
Understanding Certification Reports
A gemstone certification report comes from an independent gemological laboratory. The most recognized labs are the Gemological Institute of America (GIA), the American Gem Society (AGS), and the International Gemological Institute (IGI).
A certification report documents the stone's:
- Carat weight (how heavy it is)
- Color grade (how colorless it is)
- Clarity grade (how free from inclusions it is)
- Cut grade (how well it's proportioned and polished)
- Polish and symmetry ratings
- Any treatments or enhancements
- A unique identification number laser-inscribed on the stone
The report also includes a diagram showing the location of any inclusions visible under magnification. This diagram acts as a fingerprint for the specific stone.
Verifying Stones Against Specifications
When you receive your finished ring, compare the stone in the setting to the certification report.
Look at the stone under a loupe and compare it to the inclusion diagram on the certification.
Check that the stone's cut matches the report.
For lab-grown diamonds, ask for certification that documents the stone as lab-created.
Inspecting Your Finished Piece: Stage-by-Stage Checklist
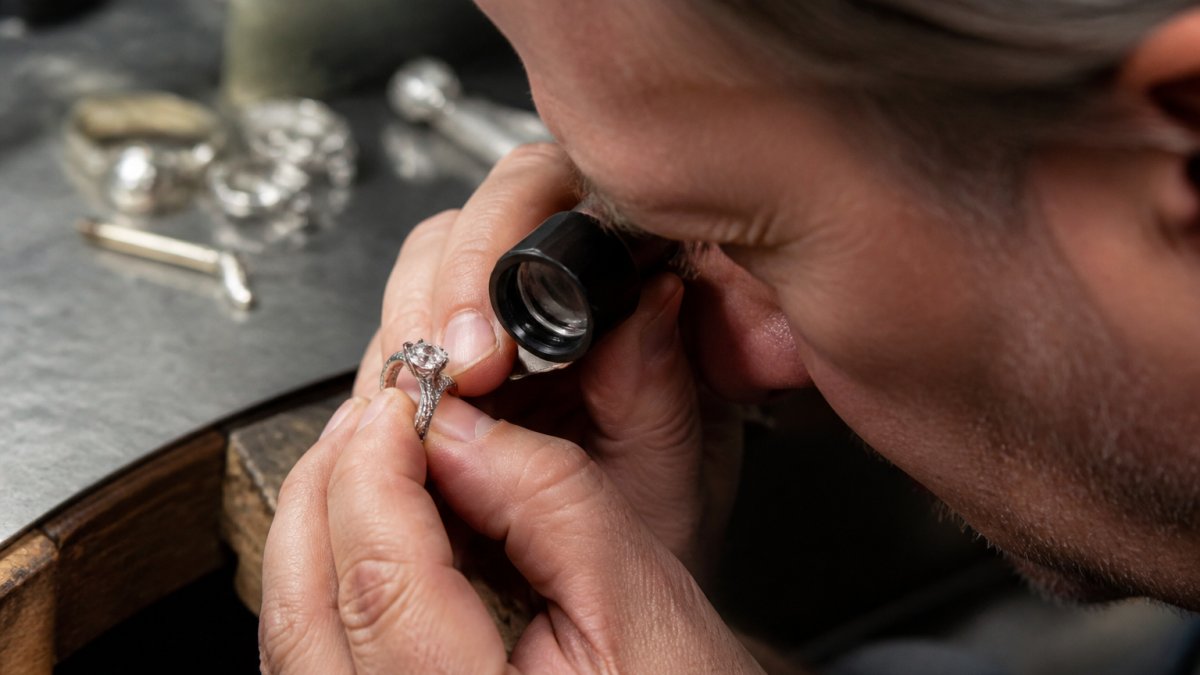
This is the final verification before you take your custom piece home. Work through each stage methodically. Don't rush. A thorough inspection now prevents regret later.
Physical Dimensions and Fit
For a ring, verify the size. Slide it onto your finger. It should fit snugly but comfortably.
Measure the band width with a ruler or calipers if you want precision.
For a bracelet, check that it fits your wrist comfortably.
For a pendant, verify the chain length. It should hang at the height you specified.
Check that all moving parts work smoothly.
Symmetry, Proportion, and Finish Quality
Stand in front of a mirror and look at the piece on your body. Does it look balanced?
Examine the metalwork. Prongs should be evenly spaced and the same height.
Run your finger along the entire surface. The metal should feel smooth.
Look at the piece under bright lighting. The metal should have an even finish.
Check that the stone is clean and free from dust or fingerprints.
Red Flags and Dispute Prevention
Stop the process if you notice any of these issues:
- The stone moves or rattles in the setting
- The metal has rough spots, scratches, or unfinished areas
- The fit is significantly different from what was approved
- The metal color doesn't match your specifications
- Engravings or details are incorrect or missing
- The piece doesn't match the approved design rendering
- Prongs are bent, chipped, or unevenly spaced
- The solder joints are rough or visible
If you spot any problems, don't accept the piece. Tell your jeweler immediately. A reputable jeweler will correct issues before you leave.
Document any issues in writing. Take photos if possible. Get the jeweler's acknowledgment of the problem in writing, along with their commitment to fix it.
Ask for a timeline for corrections. Will they fix it while you wait, or will you need to return?
Booking Your Custom Design Consultation
Ready to start your custom jewelry journey?
At Sherwood Bridge Diamonds, our consultation process is personalized and hands-on. We listen to your story and your vision.
During the consultation, we explain every step of the design and fabrication process.
Our goal is to eliminate surprises and create a piece you'll treasure.
GIA Diamond Grading Guide | American Gem Society Standards | FTC Guides Concerning the Use of the Word "Diamond"
| Verification Stage | Key Elements to Check | Documentation Needed |
|---|---|---|
| Design Approval | Proportions, stone security, metal flow, engravings | Written approval email, dated CAD rendering |
| Metal Inspection | Purity stamp, surface finish, solder joints, prong alignment | Receipt with metal type and purity |
| Stone Setting | Secure placement, no gaps, no movement, no chips | Certification report, photo of finished piece |
| Final Inspection | Fit, symmetry, finish quality, design match | Signed approval form, before/after photos |
| Documentation | All records together for insurance and future reference | Complete file with all certifications and receipts |
Frequently Asked Questions
What should I check on a custom jewelry design before approving it?
Before approving, verify the CAD rendering matches your brief exactly: check proportions, stone placement, metal thickness, and any engravings or details. Request measurements and compare them against your finger or wrist size specifications. Ask your jeweler to provide a written summary of materials, gemstone grades, and purity stamps. Ensure all revisions you requested are shown. Request a second rendering from a different angle if anything feels unclear. Get written approval confirmation from your jeweler before production begins.
How can I confirm that a custom ring matches its design?
When you receive the finished piece, compare it directly to your approved CAD rendering and written specifications. Measure the band width, stone diameter, and height using calipers. Check that the stone sits level and secure in its setting. Inspect symmetry and alignment under magnification. Verify all maker's marks, purity stamps, and hallmarks are present and correct. Ask your jeweler to provide before-and-after photos and a final inspection report. If discrepancies exist, document them with photos and request corrective action before final payment.
What documents should I receive with custom jewelry?
You should receive a signed design approval form, detailed CAD renderings, gemstone certification reports for any diamonds or stones, metal purity documentation, a final inspection checklist signed by your jeweler, a photograph of the finished piece, care instructions, and a warranty or guarantee document. For lab-grown diamonds, request certification from a recognized lab verifying the stone's characteristics. Keep all documentation for insurance purposes and future appraisals. Ask for a written record of any revisions made during production.
How do I verify a diamond or gemstone in a custom piece?
Request a certification report from a recognized gemological lab such as the Gemological Institute of America (GIA). The report should detail the stone's carat weight, color, clarity, cut, and any treatments. Compare the certified measurements against the stone physically set in your ring using a jeweler's loupe or calipers. Check for the GIA report number or similar identifier on the stone itself (laser-inscribed on diamonds). For lab-grown diamonds, verify the lab notation on the certificate. Have an independent appraiser verify the stone's authenticity if you have concerns.